 Step by Step Guide
 How to clean car headlights and restore the clarity
The full walkthrough for restoring foggy headlights: figure out whether the haze is grime, surface oxidation, or moisture inside, then clean them at home, polish, and seal — and see when the right fix is replacing them.
Updated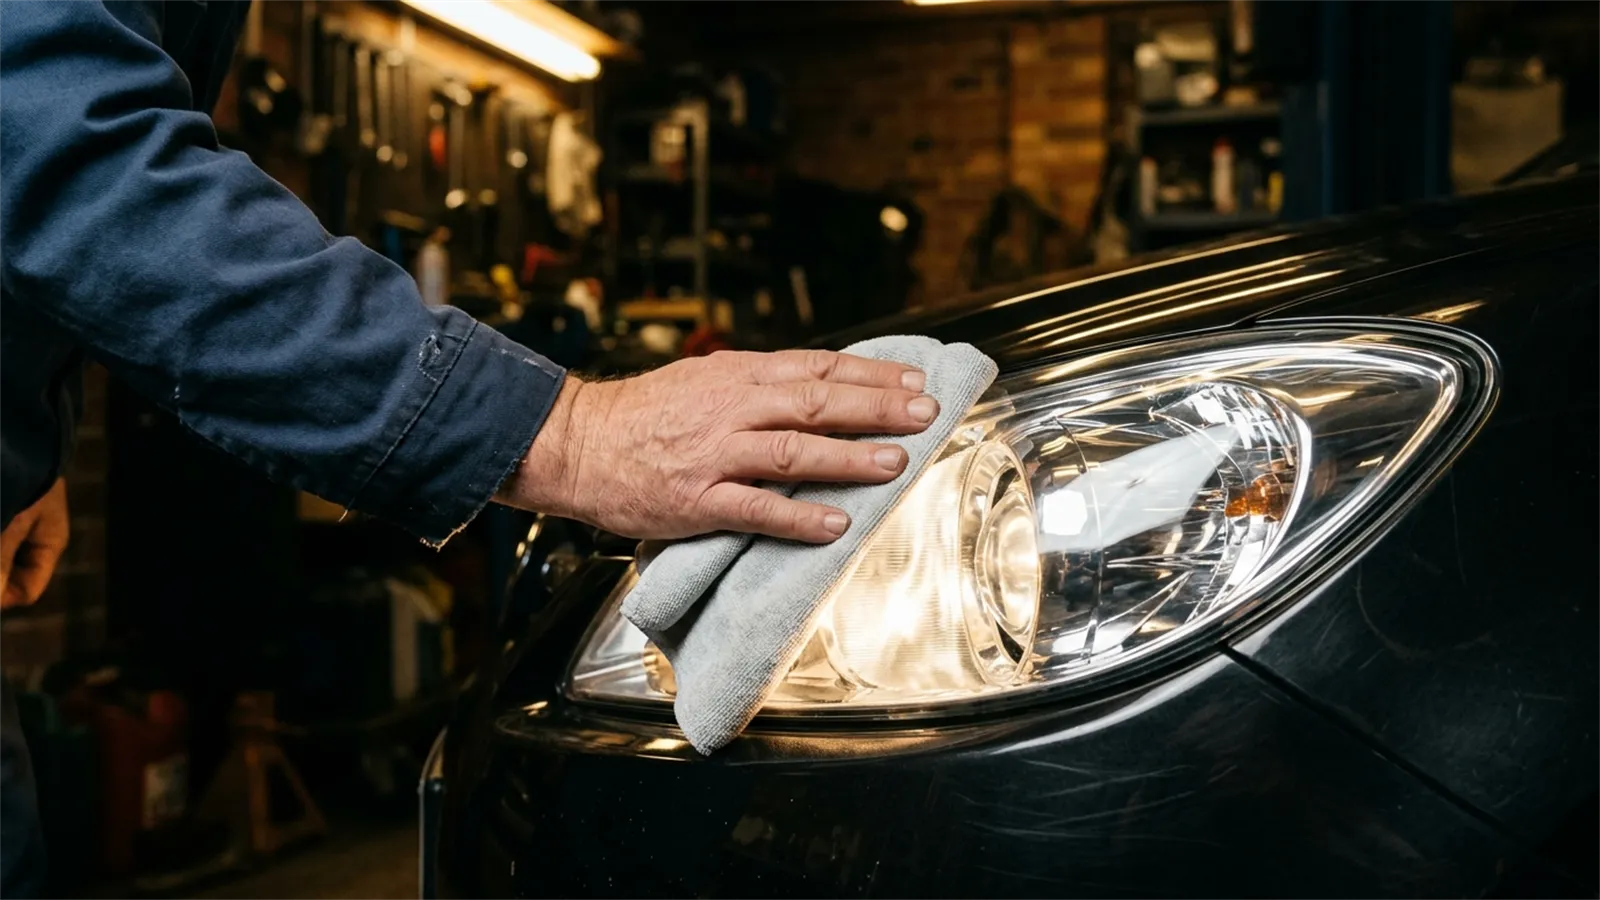
Foggy headlights age in silence. From the driver’s seat you barely notice, but a yellowed, hazy headlight can cut in half the light that reaches the road, which matters at night and in the rain. The good news is that in most cases the problem is just the oxidized polycarbonate lens, and you can fix it at home for a fraction of the price of a new assembly.
This guide covers the polycarbonate lenses fitted to nearly all modern cars. Older vehicles with glass lenses don’t oxidize this way and need a different kind of attention.
Safety first: pull over in a safe spot, with the parking brake set and the engine off, and let the headlights cool down — they get quite hot, and burning your hand is the most common slip-up. When sanding and polishing, wear safety glasses and gloves, and never touch the glass of a halogen bulb with your bare skin: the oils from your hands create hot spots and the bulb burns out soon after.
Figure out what darkened the headlight
Not every yellowing headlight is the same, and the right diagnosis keeps you from spending time and money on the wrong fix. Look closely and run a quick test with the light on against a wall.
- Grime and a film of road grease. The lens is dirty but the surface feels smooth; a few washes with soap resolve it.
- Surface oxidation. The lens looks yellowed, milky, or with whitish streaks, and the surface feels rough — you can catch it with a fingernail, and water beads up on it. This is the most common case and the one that cleaning plus polishing fixes.
- Moisture or droplets on the inside. The headlight fogs from within, with droplets or a thin water line at the base, and the fog returns shortly after you wipe the outside. That is water getting in through a failing seal or a crack, and polishing won’t help: you need to dry, re-seal, or replace the assembly.
- Weak light with a clean lens. The lens is clear, but at night you don’t see far. The likely culprit is a worn bulb — so it’s a bulb change, not a lens change.
Wash and degrease the lens
Before any abrasive, take off the road grime. Wash the lens with water and mild dish soap, scrubbing with the sponge, and rinse well.
Dry it, then mask off the paint, the rubber trim, and the grille around the headlight with painter’s tape and a sheet of plastic. Polish and sealant can leave lasting marks on the bodywork and stain the black plastic. This masking is what separates a clean job from a smear.
Home cleaning with toothpaste or baking soda
For light haze — a headlight that has just been slowly losing its shine — the home method is enough. Put a coat of toothpaste (or a paste of baking soda and a little water) on a microfiber cloth and rub the lens in firm, steady circular motions for two to three minutes.
Wipe off the excess, wet it, and repeat if you see improvement. This is a very fine polish that only slightly abrades the surface; if you feel the lens is rough or the yellowing returns once it dries, this method won’t do — move on to the next step.
Polish with wet-sanding paper and compound
Real oxidation is when the surface is dull and textured rather than just faded. Then the way is to remove the damaged layer in stages, always with water, so the plastic doesn’t overheat or get gouged.
Wet the lens and the 800-grit wet-sanding paper and sand the whole area in short, even strokes, keeping everything wet. The goal is to strip the yellowing and leave an even frosted finish, not to remove a lot of material. Move on to the 2000-grit paper to refine, and rinse.
With the lens frosted, apply the headlight polish (or a fine automotive compound) and buff with the pad in circular motions until the lens returns to clear. Finish with the microfiber cloth. The trick is to take your time: the clarity comes back gradually, and each layer of polishing is what delivers the final shine.
Apply a UV-protection sealant (the step that makes it last)
This is where most people go wrong, and it’s why the headlight fogs again within weeks. Sanding and polishing strip away exactly the factory UV coating that keeps polycarbonate from oxidizing.
Clean the lens and let it dry completely, with no moisture or polish residue. Apply a UV-protection headlight sealant with a clean cloth in a thin, even coat, and follow the product’s drying time. A lot of people reach for car wax here — it lasts a few days and then fades; what you want is a headlight-specific product that leaves a film good for months.
When replacing is the right call, not cleaning
Polishing a lens has its limits. Every sanding cycle removes material, and after two or three passes the plastic thins and weakens. Replace the whole assembly in these cases:
- A cracked or broken lens, even a small one — besides the moisture risk, a broken piece can fly into the car in front.
- Fog or droplets inside that keep coming back after you dry it out. Beefing up the seal doesn’t always work, and replacing is often cheaper and more certain.
- The reflector or the inner plastic is scorched or corroded by bulb heat.
- The lens stays milky even after all the polishing — a sign the degradation has gone past the point of no return.
When you finish, whether with a cleaned or a new headlight, also check the aim: a beam that rides too high blinds oncoming traffic. If you notice the light sitting high or low, check the adjustment or take it to a shop.
Common mistakes that cost money
- Skipping the wash and going straight to sandpaper. The dirt becomes an extra abrasive and scratches the lens.
- Not masking the paint. A minute of careful taping prevents years of polish saturating the bodywork.
- Sanding dry. Wet-sanding without water overheats the plastic and can actually melt the lens.
- Stopping at the polish and forgetting the seal. The result holds for weeks, then the headlight looks worse than before.
- Sanding too aggressively. Removing too much weakens the lens and can leave it dangerously thin.
After you finish
It takes about forty minutes and makes a difference you’ll notice the first night. When you’re done, check the result in daylight: the lens should be clear, with no swirls and no rounded scratches.
To keep it that way, wash the headlights with the car and reapply a coat of the UV sealant every six to twelve months. If one headlight has already been cleaned several times, consider changing both together so the look and the light output stay symmetrical.
Frequently asked questions
Does toothpaste actually work?
For a light, recent yellowing, up to a point — it is a very gentle polish. If the surface feels rough, with texture you can catch with a fingernail, that is real oxidation and it calls for wet-sanding followed by polishing.
Why do my headlights fog up again so soon after?
Because most people skip the sealing step. Sanding and polishing remove the lens's factory UV coating; without a sealant it oxidizes again within weeks and the result disappears.
I have moisture inside, not outside. What do I do?
If there are droplets that come back even after you clean the outside, the problem is a bad seal, not oxidation. Drying it inside and re-sealing is expensive and unreliable; depending on the headlight, replacing the whole assembly is often the better call.
Is it okay to drive with only one headlight working?
It isn't worth it. A dead headlight cuts your vision at night and confuses other drivers — one light lit to a side can make your car look like a motorcycle. Replace the bulb as soon as you can and check the aim afterward.
Informational content. For risky situations or technical, legal or medical doubts, talk to a professional.