 Step by Step Guide
 How to deep clean a bathroom, from top to bottom without risk
A step-by-step method for a complete bathroom clean: grout, shower, toilet and limescale in the right order, top to bottom, and without ever mixing bleach with ammonia or vinegar.
Updated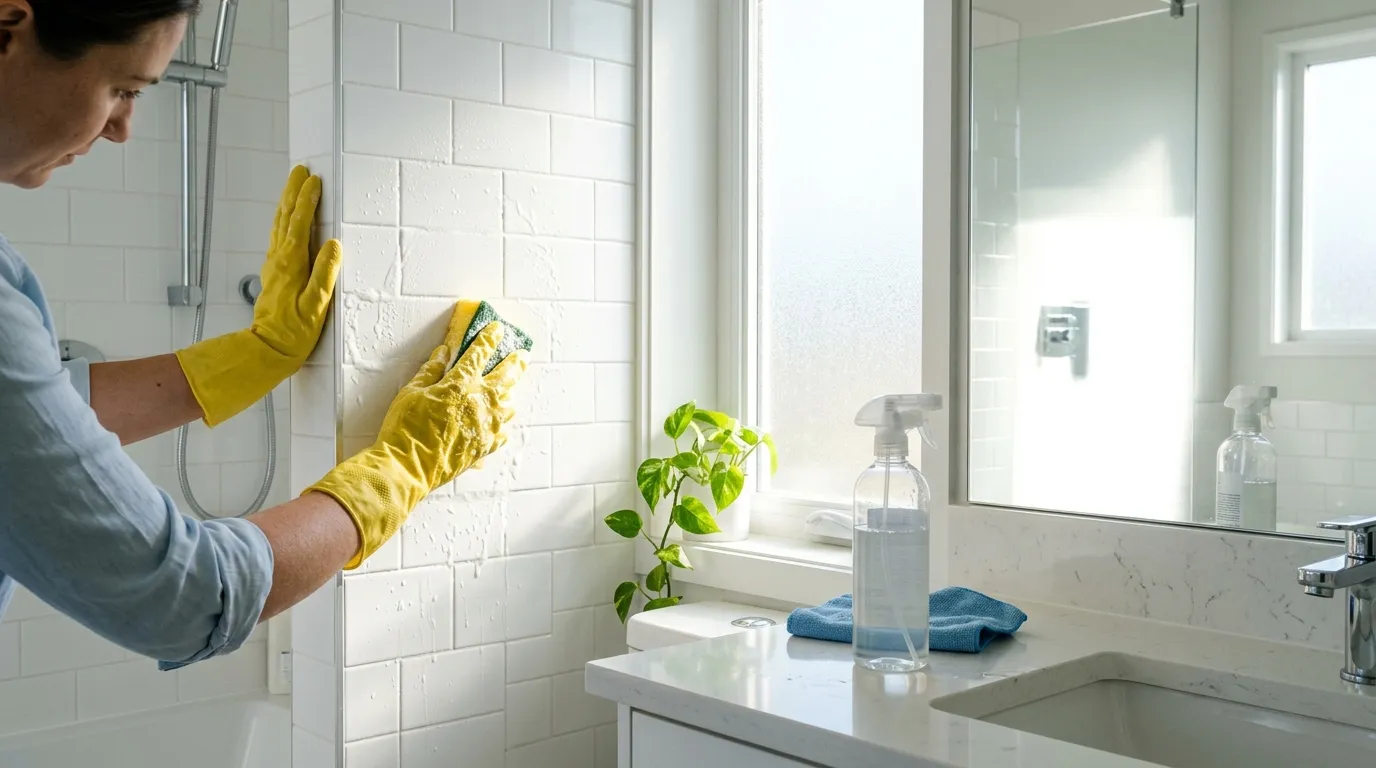
Deep cleaning a bathroom seems simple until you find the limescale buried in the shower head, the dark grout between the tiles, and that smell that just will not go away. The problem is almost never a lack of product; it is the wrong order or using products mixed the wrong way.
This guide covers the whole bathroom in your home: walls, shower box, grout, toilet, sink, fixtures and floor. The method is always top to bottom, from the highest point to the lowest, so the dirt that loosens up top falls exactly onto the areas you clean next. And there is one safety rule that matters more than all the technique in the world.
Golden rule: never mix bleach with ammonia, vinegar or any acidic product. The reaction releases toxic gas that irritates your eyes and lungs, and in a small, closed space like a bathroom it can really hurt. Use each product on its own, rinse well between them, and always ventilate the room.
Prepare the bathroom and ventilate the space
Before you touch any product, put on rubber gloves, wear clothes you don’t mind splashing, and open the window or turn on the exhaust fan. Strong cleaning products in a small, closed bathroom are worse for you than they are for the mess.
Take out everything that doesn’t belong in the bathroom: rugs, towels, personal care items, bottles, little baskets. The top-to-bottom cleaning is going to splash, and the less in the way, the less you have to dry and rearrange afterward. Take the rugs out to wash or soak them in soapy water while you work.
Start at the top: ceiling, walls and the upper part of the box
Work from the top down, and the order really matters. If you clean the floor first and then the wall, the falling dirt dirties everything again. So start at the ceiling and the walls, at the highest point.
On a tiled wall, wipe it down with a damp cloth and diluted dish soap or degreaser, starting high and working your way down. In areas with built-up makeup or soap scum (most common on the wall near the sink and the box), use a soft sponge. Rinse with a clean damp cloth. If the wall is painted, avoid scrubbing hard and use only well-diluted laundry soap with a cloth, so you don’t damage the paint.
Attack the grout between the tiles
Grout is the part that ages a bathroom the most. Because it is porous, it absorbs moisture, soap and darkening damp, and over time it gets that gray or black tone that seems impossible to clean.
Make a paste of baking soda and a little water until it reaches a creamy consistency. Spread it with your fingers or a brush over the grout lines and let it sit for 10 to 15 minutes. Scrub with a toothbrush or a dedicated grout brush, always along the line, and rinse with a damp cloth.
For very dark grout or dark mold spots, use a specialized degreaser or a diluted bleach solution (just bleach, not mixed with anything), applying it along the lines, waiting and then rinsing. If there is real mold, that is a sign of moisture and poor ventilation — after cleaning, keep the window open so the problem doesn’t come back.
Clean the box and the limescale on the shower
Limescale is that white or crystallized layer that forms from the buildup of water and soap. On a glass box it leaves everything cloudy; in the shower head, it clogs the holes and reduces the water flow.
For the shower head, fill a plastic bag or a cloth with white vinegar and tie it around the head with an elastic band, letting it soak for 15 to 30 minutes. Then scrub with a soft sponge and rinse. For clogged holes, poke them with a needle or a toothbrush.
On the glass box, apply a mixture of equal parts vinegar and water, or a glass-specific cleaner, let it sit a few minutes, scrub with a soft sponge and rinse with water. Dry with a microfiber cloth or a squeegee so you don’t leave drip marks. Avoid abrasive sponge on that surface, which scratches the glass.
Remove limescale from the sink and fixtures
Now move down to the sink and faucet level, still following the top-to-bottom pattern. The fixtures, soap dishes, faucets and the basin are what get that white ring and the drip stains that dirty up any bathroom.
Soak a cloth in white vinegar and wrap it around the faucets and the metal finish, letting it sit for 15 to 30 minutes. Scrub with a soft sponge, rinse and dry immediately with a microfiber cloth. Drying the fixtures is the secret to avoiding the limescale stains that come back fast.
In the basin, apply an all-purpose cleaner or baking soda with a little dish soap, scrub with a soft sponge and rinse. For the drain, pour a cup of baking soda and then a cup of vinegar, letting it fizz — that loosens the grease and buildup that settles at the bottom.
Clean the toilet inside and out
The toilet deserves attention on two fronts: the outside and the inside. Start on the outside and the base, which collects splashes and dust, and then take care of the interior.
For the outside, use an all-purpose cleaner or dish soap with a sponge or cloth, also going over the hinge areas of the lid and the base where the floor meets the toilet. Rinse and dry; this area often gets a yellowish urine ring, and a little diluted vinegar removes it.
For the inside, once the toilet is flushed, pour pure bleach (not mixed with anything) along the rim, letting it run down the walls and sit in the water. Let it sit for 15 to 30 minutes, scrub with the toilet brush and flush. Deeper limescale stains respond to vinegar, never in sequence with the bleach — choose one product at a time, rinse, and only then use the other.
Finish with the floor and do a final pass
Now, the lowest part. Sweep or vacuum the floor to lift the loose dirt — if it is already wet, a broom only makes mud. Then mop with a solution of water and dish soap or a diluted degreaser, scrubbing the corners and the heavily used areas with a brush or scrubber.
For the floor grout, use the same baking soda and brush treatment from step 3. Rinse the floor with a damp cloth or clean water, and dry with a squeegee. Lastly, put back the counters, accessories, soap dishes, trays and organizers you removed in step 1, already clean, and leave the window open so the bathroom can finish drying.
Build a maintenance routine so you don’t redo everything
The deep clean solves today, but anyone who doesn’t want to repeat that effort every month needs a routine. Limescale, soap scum and grout build up slowly; when cleaning is frequent, each product works at low strength.
Set aside a weekly 15-to-20-minute maintenance: wipe the most-used surfaces with a damp cloth, use a mild cleaner on the box and the toilet, and dry the fixtures after each shower. The deep clean can be done every 1 or 2 months, depending on how much the house is used and how hard the water is — in very hard-water areas, the interval gets shorter.
For day to day, the three habits that make the most difference are: drying the fixtures after a shower, squeegeeing the box, and leaving the window open or the exhaust fan on to lower the humidity (which is what creates mold on the grout and ceiling). With that, the deep clean becomes just a maintenance pass, not a battle.
What NOT to do
- Do not mix bleach with vinegar, ammonia or any acid. It releases toxic gas. This is the most important rule of all.
- Do not use different products back to back without rinsing. If you used a degreaser and are about to use bleach, rinse well before switching.
- Do not mix bleach with dishwashing degreasers or ready-made cleaners to “boost” them. Many combinations release chlorine gas.
- Do not use an abrasive sponge or steel wool on the glass box, fixtures or porcelain basin. It scratches and permanently marks them.
- Do not clean from the bottom up. The dirt that loosens up top splashes and dirties everything you just cleaned.
- Do not let strong products sit unsupervised, or run them with the room closed. Always open the window.
When to call a professional
Most home bathrooms can handle this method, but some cases are worth a professional or a structural change. If the grout has deep mold that comes back even after cleaning with bleach, the issue is humidity and ventilation — you may need to improve the exhaust, not just clean it.
It is also worth considering a specialized company when the bathroom has gone months without a clean, there’s very aggressive limescale (very hard water), or you can no longer keep up with the routine. For day to day, the essential thing is the safety rule: a little product, used correctly, with the room ventilated, beats any extra “cleaning power”.
Frequently asked questions
Can I mix bleach with vinegar or ammonia to clean more strongly?
Never. Mixing bleach with any acid (vinegar, acidic degreaser) or with ammonia releases toxic gas and can burn your eyes and airways. Use each product on its own, always rinsing before you switch to the next one.
How do I remove limescale from the shower and the fixtures?
Soak a cloth in white vinegar and wrap it around the shower head or faucet, leaving it on for 15 to 30 minutes. Then scrub with a soft sponge and rinse. Never mix the vinegar with bleach during the process.
How do I clean darkened grout between the tiles?
Make a paste of baking soda with a little water, spread it over the grout lines and let it sit for 10 minutes. Scrub with a toothbrush, rinse and dry. For stubborn stains, use a grout-specific cleaner, always with gloves on.
What is the ideal routine to keep the bathroom deeply cleaned?
A deep clean every 1 or 2 months, plus weekly maintenance: wipe the surfaces with a damp cloth and clean the toilet and box in the heavily used areas. Limescale and grout build up slowly; the shorter the pause, the less strong product you will need.
Informational content. For risky situations or technical, legal or medical doubts, talk to a professional.