 Step by Step Guide
 How to take better travel photos with your phone, step by step
A step-by-step guide to turning quick snapshots into photos worth remembering: how to use natural light, compose with the rule of thirds, avoid blur, work the angles and edit lightly — no expensive gear required.
Updated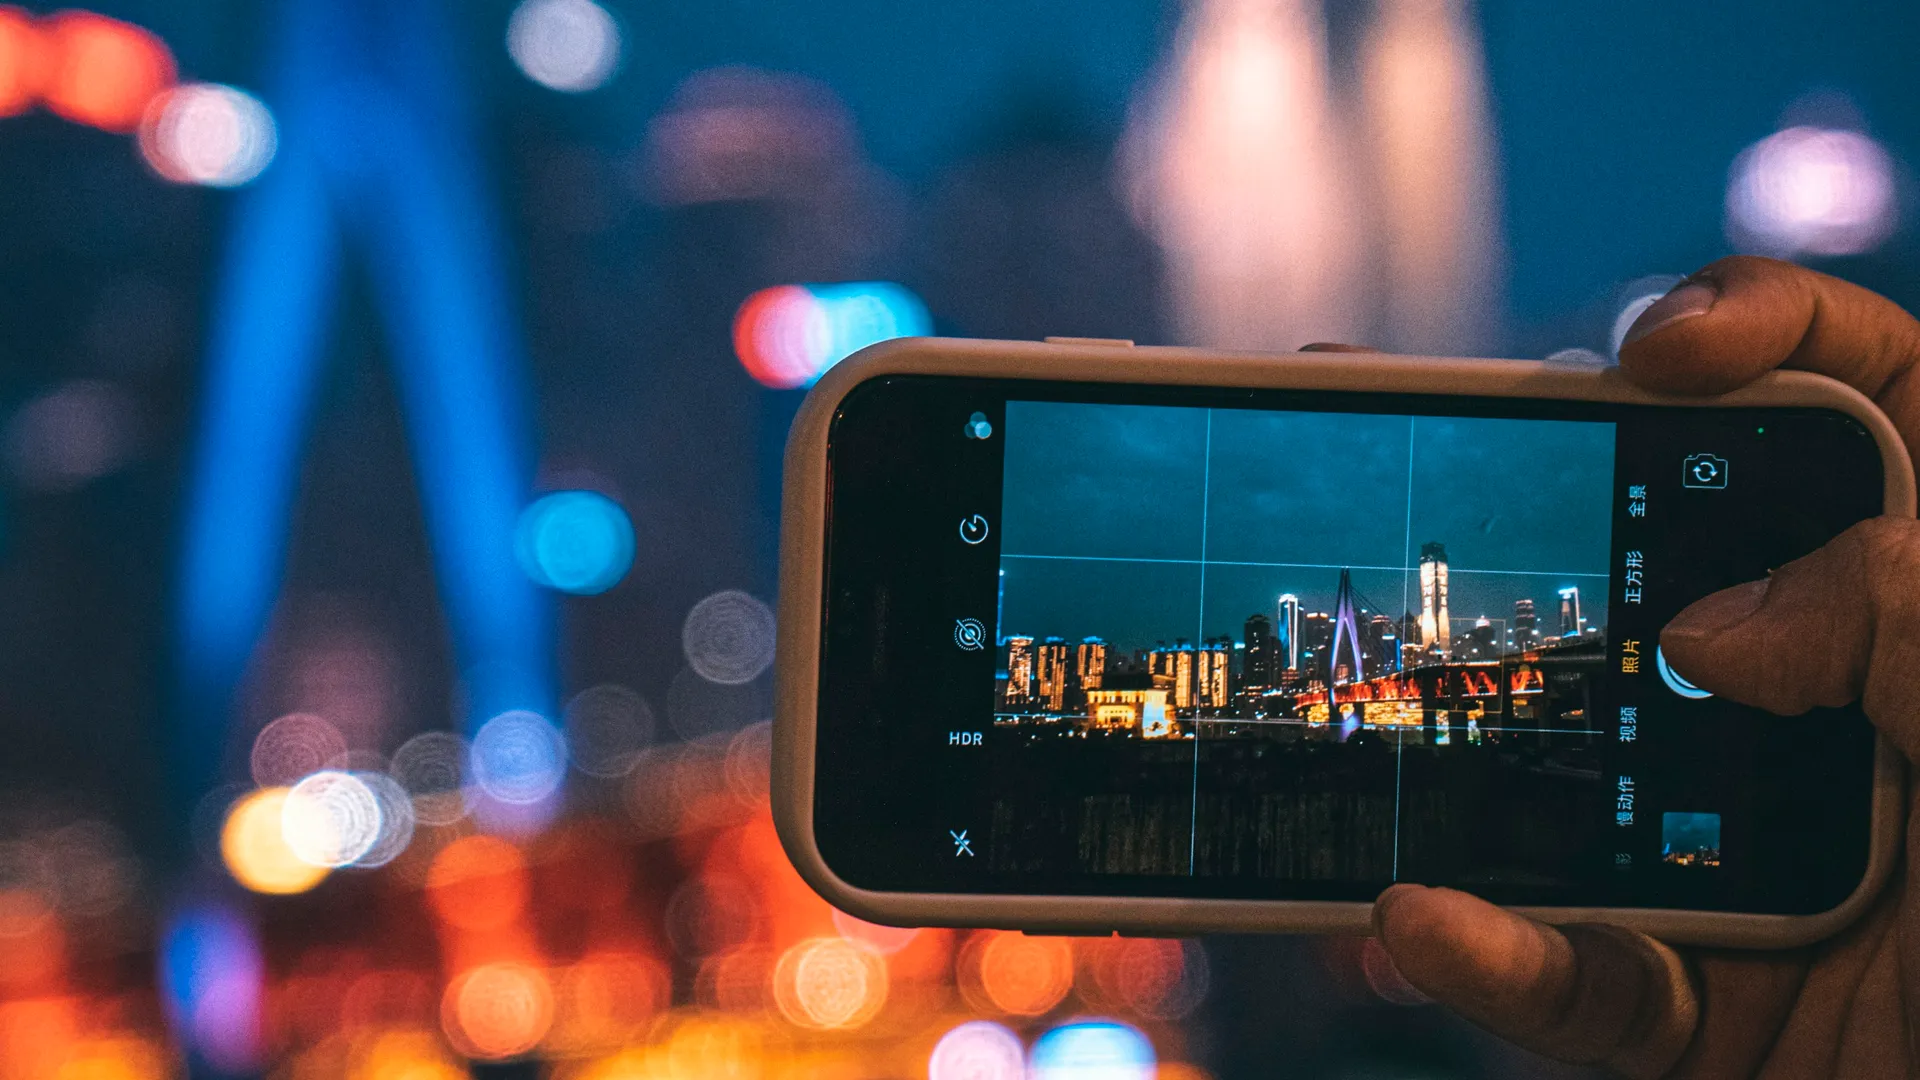
The beach, the sunset, the hillside with the church at the top. You arrive, take ten shots and, hours later, nothing on your phone seems to match what you saw. The culprit is almost never the camera — it is the hurried way of hitting the button on reflex, without paying attention to the light or the framing.
This guide is not about gear, and it needs no paid app. With your phone’s own camera, you can come back from a trip with photos that really tell the story of the place — and that take on new life on a big screen and in a printed album. These are seven simple steps you can apply on the spot, anywhere in the world.
Golden rule: the best camera is the one in your hand, and the best setting is your eye. Stop, breathe and look at the light before you shoot. One thoughtful photograph is worth far more than ten aimless clicks — and no technique replaces the patience of waiting for the right moment.
Before you start
You don’t need much, but a little preparation keeps you from missing the best shot because of a dead battery or a smudged lens.
- Your phone, with a clean camera and battery to last the whole day
- A microfiber cloth or any clean cloth, for the lenses
- A power bank or portable charger, to top up in your bag
- A firm support — wall, railing, backpack — or a small, light tripod
- Free space in the memory, so you never stop in the middle of a walk
Look for the best natural light
Before any rule of composition, the light decides the photo. The most beautiful light is in the early morning and late afternoon, in the so-called golden hour: the sun hangs low, the light is warm and diffuse, and the long shadows add volume and texture.
Avoid the middle of the day, with the sun overhead. The light turns hard, blows out the bright areas and closes the shadows on people’s faces. If that is all you have, look for a pocket of shade — the shadow of a wall, an awning or a tree — and shoot with the reflected, soft, even light.
Tip: in scenes with the light of a window or an overcast sky, tap on the brightest area of the screen before shooting. The phone adjusts its exposure to it, and the photo comes out balanced instead of blown out.
Compose with the rule of thirds
Mentally divide the image into a grid of three horizontal and three vertical lines, like a tic-tac-toe board. Instead of centering your subject, place it on one of the four points where the lines cross — or along one of those lines.
This moves the eye away from the center, which usually leaves a photo feeling flat, and creates a more natural, dynamic composition. Try putting the horizon on the top line or the bottom one, instead of cutting the scene right through the middle.
Almost every phone has an option to show this grid on screen. Turn it on in the camera settings; it costs nothing, and it disappears when you save the photo.
Use what the scene gives you to frame
Windows, doors, arches, corridors, alleys, branches and railings are natural frames. Shooting through them creates depth and draws the eye straight to the subject, making the photo feel layered.
In the same way, use the lines of the scene to guide the eye: a road, a train track, the edge of a wall or the staircase of a hillside leads the look toward the main point. Try it in horizontal and vertical, standing and crouching; the angle changes everything.
Also look for an interesting foreground — a rock, a flower, a shadow — to add scale and a sense of depth. The photo then has three layers: front, middle and back.
Hold steady and avoid blur
Nothing ruins a good photo like a slight shake. Hold the phone with both hands and tuck your elbows against your body, forming a tripod out of your own torso. If there is a firm surface nearby — a wall, a railing, a table, a backpack — rest the phone or your elbows on it. The less the phone moves at the moment of the shutter, the sharper the photo.
To fire the shot, prefer the volume button, voice control or the three-second timer, instead of tapping the screen. A deep breath and firing on the way out also avoid that micro-tremble at the exact moment.
Tip: in low light, the phone lengthens the exposure time and shakes easily. If the sky is overcast or the scene is indoors, find support, turn on the timer and hold the phone still for the second after the click too, not just while pressing the button.
Do a light edit right on the phone
Editing starts during the trip, on the device itself, and should be subtle. The goal is to bring back what you actually saw — not to mask the photo behind a filter.
Adjust the brightness if the photo came out dark, the contrast if it looks lifeless, and the saturation only until the color matches the real thing. Crop the image to cut what’s left over and strengthen the framing. This path handles most photos.
Avoid heavy filters and aggressive HDR: they wash out the colors, create a strange glow and erase the details — including the ones of your memories. Edit a copy and always keep the original. You will thank yourself years later.
Work the angles before you click
Before you take the photo, walk around the place. Most people shoot from eye level and stop there; what makes the difference is usually a step, a curve, a perspective no one tried.
Crouch, climb a staircase, get close to the details, back away to see the whole scene, move to another side and turn the screen to vertical. Every change of viewpoint changes the story the photo tells. Compare two or three and keep the best one.
Tip: always take a few extra shots, from several angles. It costs almost nothing, and you judge them calmly at home — the first angle is almost never the best.
Take care of the device for the whole trip
A good photo also comes from a phone that lasts the day. Wipe the lenses with the cloth before each set — a lens with a smudge or grease turns hazy, and it is the most common cause of a weird-looking photo with no clear reason.
Look after the battery: turn on power saving, carry the portable charger and avoid leaving GPS and the screen on all the time, which drain the charge exactly at the most beautiful moments.
Protect the device from moisture, heat and beach sand — all of these damage the lens and the sensors. And adopt a habit that saves trips: back up your photos at the end of each day, to the cloud or a card, so no mishap wipes out the memory.
Common mistakes
- Shooting without looking at the light. At midday or against the high sun, the photo comes out blown out and flat — choose the light before you click.
- Centering everything. The subject always in the center leaves the photo flat; use the rule of thirds and give it breathing room.
- Tapping the screen to shoot. That move is the biggest cause of blur; use the headphones, your voice or the timer.
- Overdoing the filters. They wash out, create a strange glow and hide the details you will want to remember.
- Shooting only the first angle. The best portrait of a place is usually at another point of view; walk around and test.
- Forgetting to clean the lenses. Moisture, a smudge and dust haze the photo without you noticing.
- Leaving the backup for later. A lost, stolen or wet phone takes every photo of the trip with it.
After you shoot
Choose, edit and organize along the trip, so you don’t get home with five hundred photos and no idea where to start. Set the best ones aside in a folder, delete the repeats and do the day’s backup. In the end, what matter are the clicks that bring back the feeling of the place — and that is exactly what a careful eye, light and framing build. Now grab the phone and make the next trip count.
Frequently asked questions
What is the best time of day to take photos while traveling?
The so-called golden hour — early morning and late afternoon, around an hour on either side of sunrise and sunset. The sun hangs low, the light is warm and soft, and the long shadows add depth and texture. At midday, with the sun overhead, the light turns hard and blows out the bright areas.
Do I need a professional camera or an app to take good photos?
No. Your phone's camera handles the vast majority of cases. What changes the photo is your eye, the light and the framing — not the price of the gear.
How do I keep my photos from coming out blurry?
Hold the phone with both hands and tuck your elbows against your body, or rest it on a firm surface. Fire it with the volume button, voice control or the timer, instead of tapping the screen.
Should I use heavy filters on my travel photos?
Keep the edits light. Adjusting brightness, contrast and cropping fixes most photos. Heavy filters wash out the colors, date the image and can hide details you will wish you had kept.
Informational content. For risky situations or technical, legal or medical doubts, talk to a professional.